Taking Product Photos on a Small Table Near a Window
Good product photos are often the difference between a browser who leaves and a customer who buys. Many small sellers assume they need a studio, expensive lights, and…
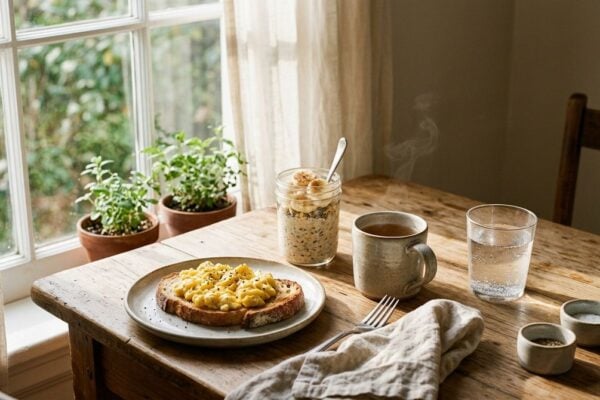
Good product photos are often the difference between a browser who leaves and a customer who buys. Many small sellers assume they need a studio, expensive lights, and a large room. In practice, a small table near a window can produce clean, attractive images when the set-up is simple and consistent. This article explains how to use natural light, choose a suitable background, and keep your photos looking professional without spending a fortune or giving up your entire kitchen.
Why simple photos sell
Customers want to see what they are buying clearly. A plain background, sharp focus, and accurate colour do more to build trust than elaborate styling. Your photos should show the product from the angles a buyer would expect, with enough detail to answer obvious questions about size and texture. Avoid clutter in the frame, because it draws attention away from the item. A simple, honest image is usually more persuasive than a busy one, and it is easier to repeat across a whole range of products. Think about what the customer needs to know before buying, such as scale, material, and any packaging included. Photographs that answer those questions reduce enquiries and returns, which saves time for a small business with little spare capacity.
Set up near natural light
A window is the most useful light source in a small flat. Position the table at right angles to the window, so the light falls across the product rather than directly into the lens. Avoid direct sunlight, which creates harsh shadows and bright spots, and choose a bright but cloudy day when possible. Readers may also want to visit Fact City. Take test shots at different times of day and note which hour gives the most even result. If the room is dim, a window facing a light courtyard or a neighbouring wall can still give soft light when the table is placed close to it.
Equipment worth having
You need far less equipment than many guides suggest. A steady surface, a plain background, and a phone or camera with good focus are the core essentials. Add a few simple items to improve the results:
- A sheet of smooth white or grey card for the background.
- A small piece of tape to fix the card to the table.
- A clip or small stand to hold the phone steady.
- A reflector, such as a sheet of white card, to soften shadows.
- A soft cloth to remove fingerprints from the product.
Keep the kit in a single box, so setting up takes minutes rather than an hour. Label the box clearly so that a flatmate can help you set up without moving anything else in the room. Test each piece of kit before a big shoot, because a cheap clip that slips at the wrong moment can ruin a whole batch of images.
Keep backgrounds and angles consistent
Consistency makes a shop look trustworthy. Use the same background, camera distance, and lighting for each product in a range, so that the images appear side by side as a set. You can also visit yamamamedia.com for more reading. Shoot each product from the front, at a slight angle, and in close-up for texture. Keep notes of the settings that work, so that future photos match the existing ones. If a product is shiny or reflective, try moving the reflector slightly to avoid a bright patch that hides the shape of the item.
Edit lightly and name files clearly
Editing should improve the image without changing what the product really looks like. Adjust brightness, contrast, and straightening, and crop the frame so the item sits comfortably in the picture. Avoid heavy filters, because they can make the product appear different from what the customer receives. Name each file with the product name and the angle, so that it is easy to find later. For a related read on this site, see Reviewing Last Year’s Marketing Results Without Getting Lost in the Numbers. Keep the original files as well, so that you can return to an unedited version if a later change does not look right.
Taking product photos on a small table near a window is a practical skill that improves with repetition. Use natural light, keep the background plain, choose a small, consistent kit, and edit lightly so the product stays honest. Good photos build trust, reduce returns caused by unclear images, and make your shop more attractive to browsers. For questions about the legal use of images or trademarks, speak to a qualified professional before you publish anything that might infringe another person’s rights.